How To Set Up and Use Auto Tool Zero by Masso
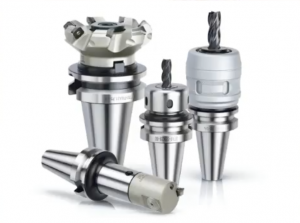
Some of you must have expensive tool holders and despite it being the most expensive in the market, adjusting the height of your tool can still get really complex.
Further, if you have a smaller machine that doesn’t have a tool holder option, changing tools while running a job can be very time consuming and frustrating.
Disadvantages of changing tools manually
- Takes a lot of time to adjust tool height
- On smaller spindles, tool holders can’t be installed and tools can’t be changed while running a gcode file
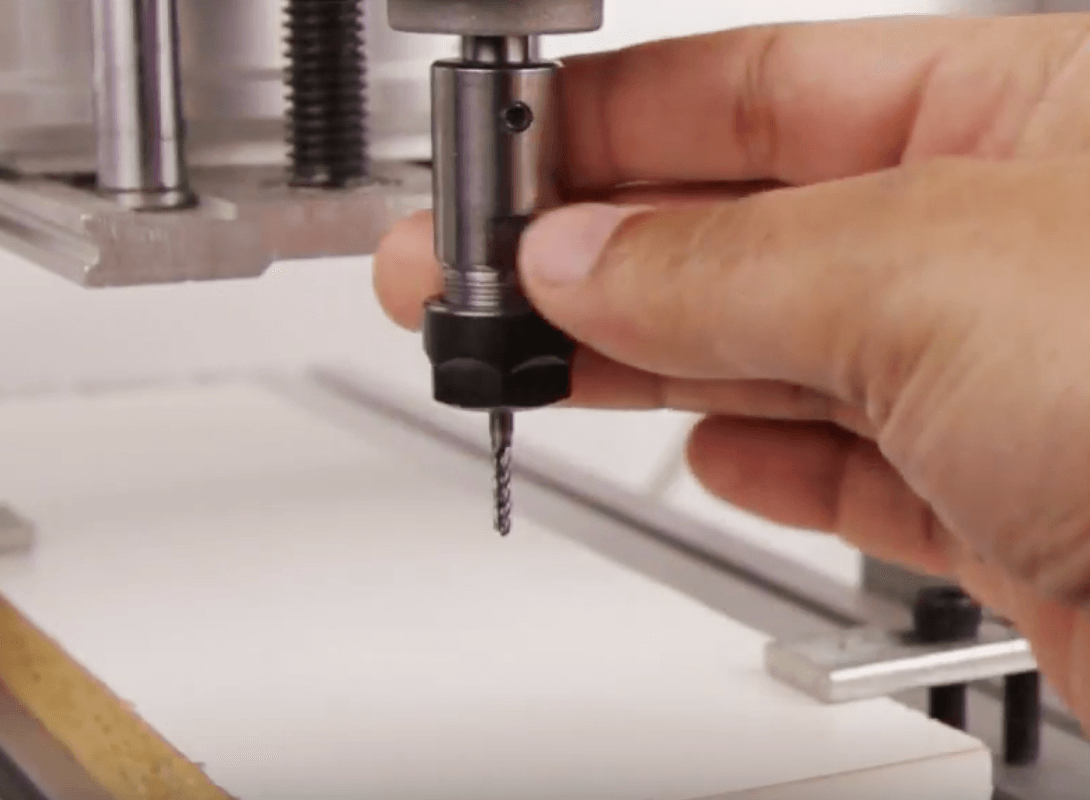
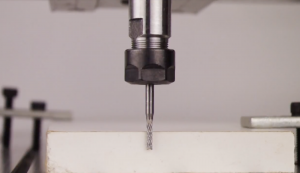
 Let us show you more of it in this video as we have initially started with a tool that’s been calibrated to the height of the job.
In this video example, we give a simple MDI command G0 Z0 for the tool to come and touch the top of the work piece. And now if we change a tool with different height and without calibration, we just give the same command for going to the same height, so again the MDI command G0 Z0, you can see that the tool will go through the job, damage the job.
We do not want this to happen do we? That is why we’ve come up with a brilliant solution!
With MASSO’s Automatic Tool Zero option, you can automatically calibrate the height of the tool!
Here are the steps on How To Set Up and Use The MASSO Auto Tool Zero Feature.
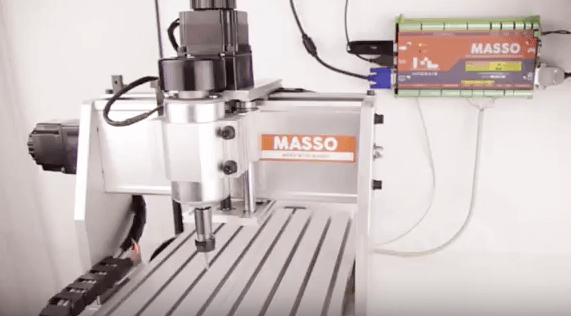
Step1: You simply start off by positioning a touch plate on the machine bed at a fixed position and wiring up to the MASSO as per the documentation this link.
Step 2: Wire the connection to any of the 32 inputs we have on the MASSO. So in this example, we are wiring up on input # 32.
Step 3: Go to the F1-Setup screen on MASSO and go to input #32, select that as the Tool setter input.
Step 4: Now we need to define the position of the touch plate, go to F3-Jog screen and roughly position the tool in the middle of the touch plate.
Step 5: Copy the X and Y machine coordinates, these are the values we will need to set up automatic tool zero.
Step 6: Now go back to F1-setup screen, go to auto tool zero, make sure to enable automatic tool zero, and now assign the same machine values in the X and Y locations. Enter a Z travel safe distance. Finally put in the feed rate at which you would like to zero your tool. At the same time it is a good idea to also enter the tool change position values, so these are the values where you feel comfortable most of the time. in most cases it’s on the front of the machine where you would like to change the tools. From now every time there is a tool change command, MASSO will come on this location automatically stop the spindle and then ask you to change the tool.
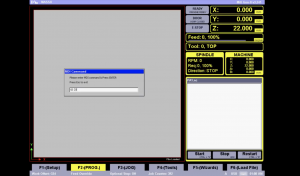
Step 7: Let’s run a test program. So we’ve loaded this file, and in this file the controller wants us to load tool #3, and after changing the tool, press enter.
Step 8: MASSO will automatically start the automatic tool zero process by moving the tool to the touch plate and performing an auto tool zero process. Machining is automatically resumed after this.
Watch whole video here:
With this feature it becomes really easy to change and calibrate your tools. You can find more information on our website hindtechnology.com.
Post a comment
You must be logged in to post a comment.